The DIY Guide to Rust Repair: A Step-by-Step Fix for Your Car’s Paint
There’s nothing more disheartening than finding rust on your vehicle. It’s a common issue, especially in climates with road salt and high humidity. While rust can seem intimidating, catching it early is the key, and with the right products and techniques, you can stop it in its tracks and restore your car’s appearance right at home.
At Complete Auto Care, we believe in providing you with the tools and knowledge to tackle any DIY car repair, including the most common and destructive one: rust.
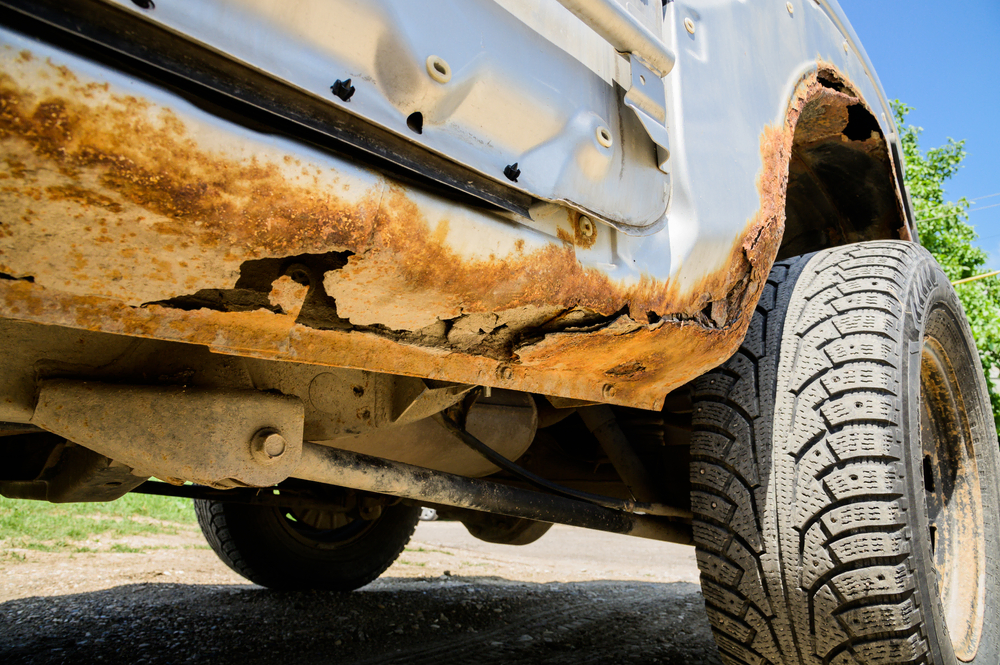
Why Rust is More Than Just a Cosmetic Problem
Rust isn’t just an eyesore; it’s a destructive force. It’s an aggressive form of corrosion that eats away at metal, weakening your car’s body panels from the inside out. A small rust spot can quickly grow, spreading beneath the paint and causing widespread damage. The goal of a DIY rust repair is to stop this process and restore the surface.
The Essential Tools and Products You’ll Need
A successful rust repair requires more than just touch-up paint. You’ll need specialized products to kill the rust and prepare the surface correctly.
- Wire Brush or Sandpaper: For removing the loose, flaky rust.
- Rust Converter or Rust Remover: A chemical agent that neutralizes and treats the rust to prevent it from returning.
- Body Filler or Bondo: For filling in any holes or deep pits left by the rust.
- Wax & Grease Remover: A non-negotiable step for cleaning the surface before priming.
- Primer: A good quality, rust-inhibiting primer to seal the metal.
- Custom-Matched Paint & Clear Coat: To restore the original finish.
Your Step-by-Step Guide to a Flawless Rust Repair
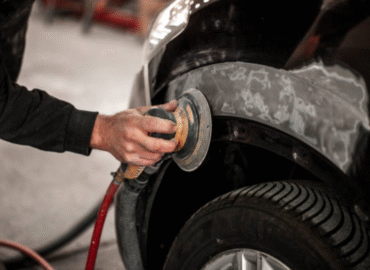
Step 1: Remove All the Rust
Using a wire brush, sandpaper, or even a small drill-mounted brush, remove all visible rust from the affected area. The goal is to get down to clean, bare metal. It’s crucial to remove every last trace of rust, or it will continue to grow beneath your new paint.
Step 2: Apply Rust Converter
Once the surface is free of rust, apply a rust converter or remover. This chemical treatment neutralizes any remaining microscopic rust particles. Follow the product instructions for application and curing time. The area will turn black, indicating the rust has been neutralized.
Step 3: Fill and Smooth
If the rust has created a pit or hole in the metal, mix a small amount of body filler and apply it to the area with a putty knife. Build it up in thin layers, allowing each to dry before applying the next. Once it’s cured, sand the filler down with progressively finer grits of sandpaper until it is perfectly smooth and level with the surrounding metal.
Step 4: Prime and Seal
Thoroughly clean the area with a wax and grease remover. Then, apply a high-quality primer to the bare metal and filled area. This layer will seal the surface and provide the perfect foundation for your new paint, preventing the rust from ever returning.
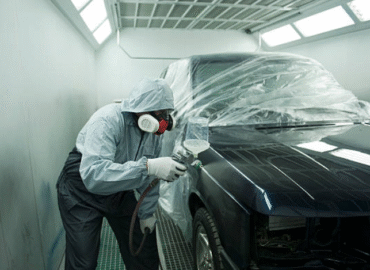
Step 5: Paint and Clear Coat
Once the primer has cured, you can apply your custom-matched paint to restore the color. Finally, finish with a durable urethane clear coat to seal in your repair and protect it from the elements.
Rust doesn’t have to mean the end of your car’s good looks. With the right approach and the right products, you can stop corrosion in its tracks and restore your vehicle to its former glory.
For all the specialized products you need, from rust converters to touch-up paint kits, visit www.completepaintcare.com today.