The DIY Painter’s Guide to Sanding: From Prep to Polish
Sanding is often seen as the tedious part of a paint project, but in reality, it’s the most critical step. A flawless finish isn’t created with a spray gun—it’s earned with proper sanding. Without a perfectly smooth foundation, even the highest-quality urethane clear coat will show every scratch, imperfection, and mistake underneath.
At Complete Auto Care, we’re here to tell you that mastering this skill is the secret to a professional DIY paint job.
Why Sanding is a Science, Not a Chore
Most people think sanding is just for removing rust or old paint, but it actually serves several crucial purposes that make or break your project:
- Feathering a Repair: When fixing a rock chip or scratch, sanding helps “feather” the edges of the damaged area, creating a smooth, invisible transition between the old and new paint.
- Creating a “Key” for Adhesion: Sanding scuffs the surface, giving the new paint something to grip onto. This ensures a strong, lasting bond and prevents peeling.
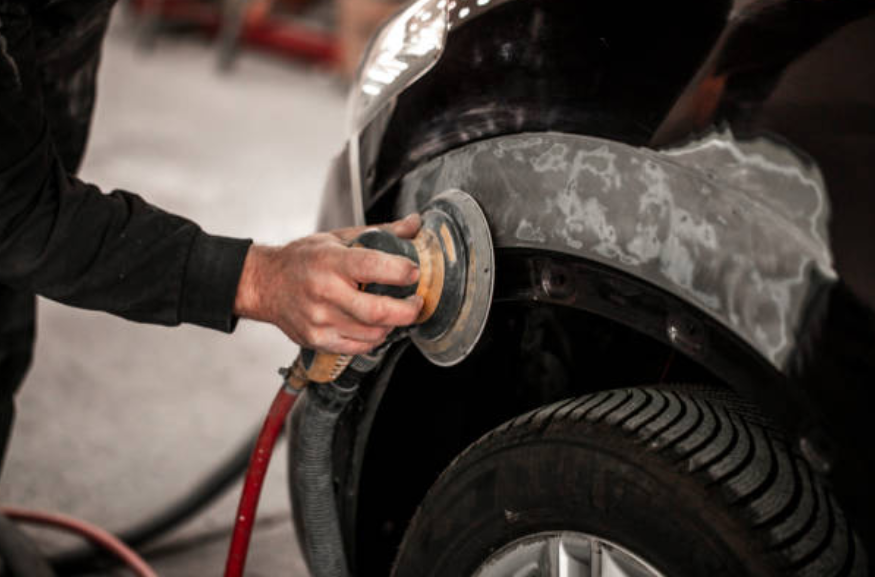
- Leveling and Smoothing: After applying a primer or a heavy coat of body filler, sanding is essential for creating a perfectly level surface, eliminating high spots and filling in low spots.
- Removing Imperfections: You can wet sand a fully cured clear coat to remove imperfections like orange peel, dust nibs, or light runs, leaving a mirror-smooth finish ready for polishing.
Choosing the Right Sandpaper Grit for the Job
Using the wrong sandpaper grit can ruin a project before you even start. Here’s a quick guide to help you choose the right one:
- Coarse Grits (80-180 grit): These are for aggressive material removal, such as taking a panel down to bare metal or shaping body filler. Use with caution!
- Medium Grits (220-400 grit): Ideal for smoothing body filler, prepping bare metal for primer, and general surface preparation before applying primer.
- Fine Grits (500-800 grit): This is your go-to range for scuffing a factory finish before spraying a base coat and for wet sanding your primer to a perfectly smooth surface.
- Very Fine Grits (1000-3000 grit): These are for advanced finishing. Use these for wet sanding your cured clear coat to remove imperfections and prepare the surface for a final buff and polish. The higher the number, the finer the cut.
Essential Tools and Techniques for a Flawless Finish
Don’t use your fingers to sand; it will create an uneven surface. For best results, use a firm foam or rubber sanding block that conforms to the body panels’ curves.
- Dry Sanding: Use for most prep work, such as sanding filler and primer. It’s faster and prevents the sandpaper from clogging.
- Wet Sanding: This technique is a must for fine-grit work and is used to remove a very thin layer from the clear coat. It keeps the surface cool, prevents dust, and leaves a much smoother finish. Use plenty of water and a sanding block for consistent pressure.
The Golden Rule: Always sand in a consistent pattern, moving from one grit to the next, never skipping more than one grit size. For example, don’t jump from 400 to 1000 grit—you’ll leave deep scratches that the next grit can’t remove.
Sanding is the secret to a high-quality finish, whether you’re using a touch-up paint kit or spraying an entire panel. By taking your time and using the right tools and techniques, you’ll ensure your hard work results in a repair that looks professionally done.
Ready to start your next DIY car repair? We have all the sanding supplies, primers, paints, and urethane clear coats you need to achieve a flawless finish every time.
Visit us at www.completepaintcare.com to find the right products for your project!