Protect Your Investment: The Ultimate Guide to Caring for Your New Paint Job
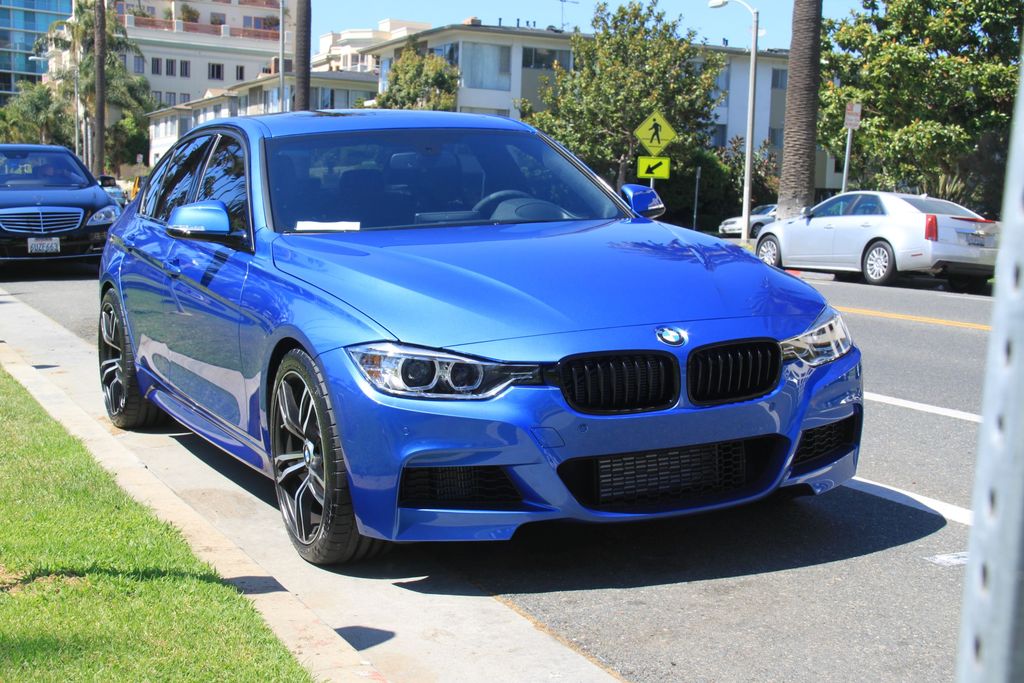
You’ve invested time, effort, and money into your DIY car repair, and you’ve achieved a flawless, show-quality finish. Now what? The most critical part of the process begins after the paint dries: proper aftercare. A beautiful paint job is only as good as the care it receives.
At Complete Auto Care, we want your hard work to last for years to come. Here is our ultimate guide to caring for your new paint, ensuring it stays as perfect as the day you finished it.
Phase 1: The Crucial Curing Period
Immediately after you finish painting, your clear coat is still in a delicate state. It needs time to fully harden and cure.
- Avoid Washing for at Least 7 Days: Do not wash your car, even with water, for at least one week. The paint’s solvents are still outgassing, and applying soap or pressure can interfere with the curing process.
- No Waxing or Polishing for 30-90 Days: Avoid applying any waxes, sealants, or polishes for at least 30 to 90 days. The paint needs to breathe, and waxing can trap solvents, leading to a dull or hazy finish.
- Be Mindful of Parking: Avoid parking under trees that drip sap or near industrial areas with chemical fallout. These contaminants can cause permanent damage to a soft, curing finish.
Phase 2: The Right Way to Wash Your Car
Once the curing period is over, proper washing is your best defense against long-term damage.
- Use the Two-Bucket Method: Use one bucket with car wash soap and another with plain water. Dip your microfiber wash mitt into the soap bucket, wash a section of your car, then rinse it in the clean water bucket before dipping back into the soap. This prevents grit from being reintroduced to the paint.
- Use a pH-Balanced Soap: A specialized car wash soap is formulated to be gentle on your paint and will not strip away your urethane clear coat or wax. Avoid dish soap at all costs, as it is too harsh.
- Dry with a Microfiber Towel: Never let your car air-dry, as water spots can form. Use a large, soft microfiber drying towel to gently blot the water off the surface.
Phase 3: Waxing and Sealing for Long-Term Protection
Once your paint is fully cured, it’s time to apply a protective barrier. Waxing or sealing is your car’s best defense against UV rays, environmental contaminants, and minor scratches.
- Wax: Natural carnauba waxes provide a deep, warm glow and excellent protection.
- Synthetic Sealants: These polymer-based products offer longer-lasting protection and are often easier to apply.
- Ceramic Coatings: For the ultimate protection and durability, a ceramic coating provides a hard, long-lasting barrier.
What to Avoid at All Costs
- Automatic Car Washes with Brushes: The harsh brushes in these washes can leave thousands of microscopic scratches in your clear coat.
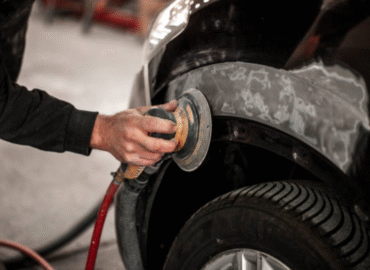
- Abrasive Cleaners: Avoid using any abrasive cleaners or compounds that are not specifically designed for automotive finishes.
- Dirty Towels or Sponges: Using a dirty towel to wash or dry your car is like rubbing sandpaper on it.
A little ongoing care goes a long way. By following these simple steps, you can ensure that your hard work and your investment in DIY car repair are protected for years to come.
For all the car wash soaps, waxes, sealants, and other automotive paint care products you need, visit www.completepaintcare.com today.