From Dull to Dazzling: The Final Step to a Professional Paint Finish
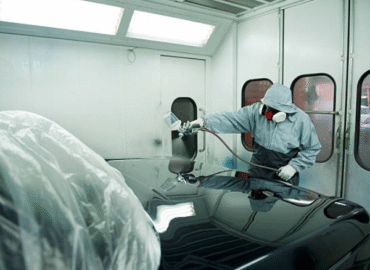
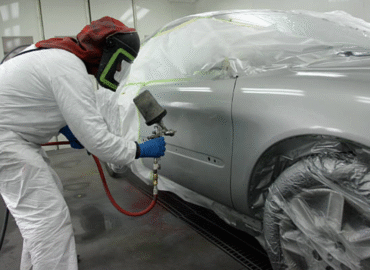
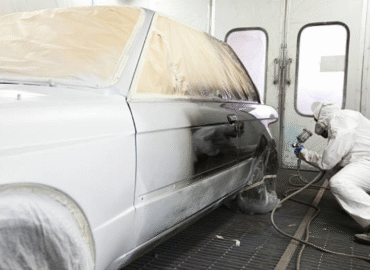
You’ve done the prep work, carefully applied your custom-matched paint, and sealed it all in with a durable urethane clear coat. You’ve even done the crucial wet sanding to level the surface. But when you look at your hard work, the finish still looks a little hazy or dull.
This is the moment of truth. What you need is the final, transformative step that separates a good DIY car repair from a show-quality finish: buffing and polishing. This process brings out the incredible depth, shine, and clarity that you’ve been working for.
At Complete Auto Care, we believe every project deserves a mirror-like finish, and it’s easier to achieve than you think.
Why Buffing and Polishing Are Absolutely Necessary
While sanding creates a smooth, level surface, it also leaves microscopic scratches that dull the finish. Buffing and polishing are the processes that remove those tiny scratches and defects, revealing the full potential of your clear coat.
This final step is essential for:
- Removing Sanding Marks: The fine scratches left behind from your 2000-grit or 3000-grit sandpaper are easily eliminated.
- Fixing Orange Peel: Buffing and polishing can knock down minor texture imperfections, creating a flatter, more reflective surface.
- Restoring Clarity: This process removes any remaining haze or dullness, allowing light to penetrate and reflect perfectly, giving your paint a deep, rich look.
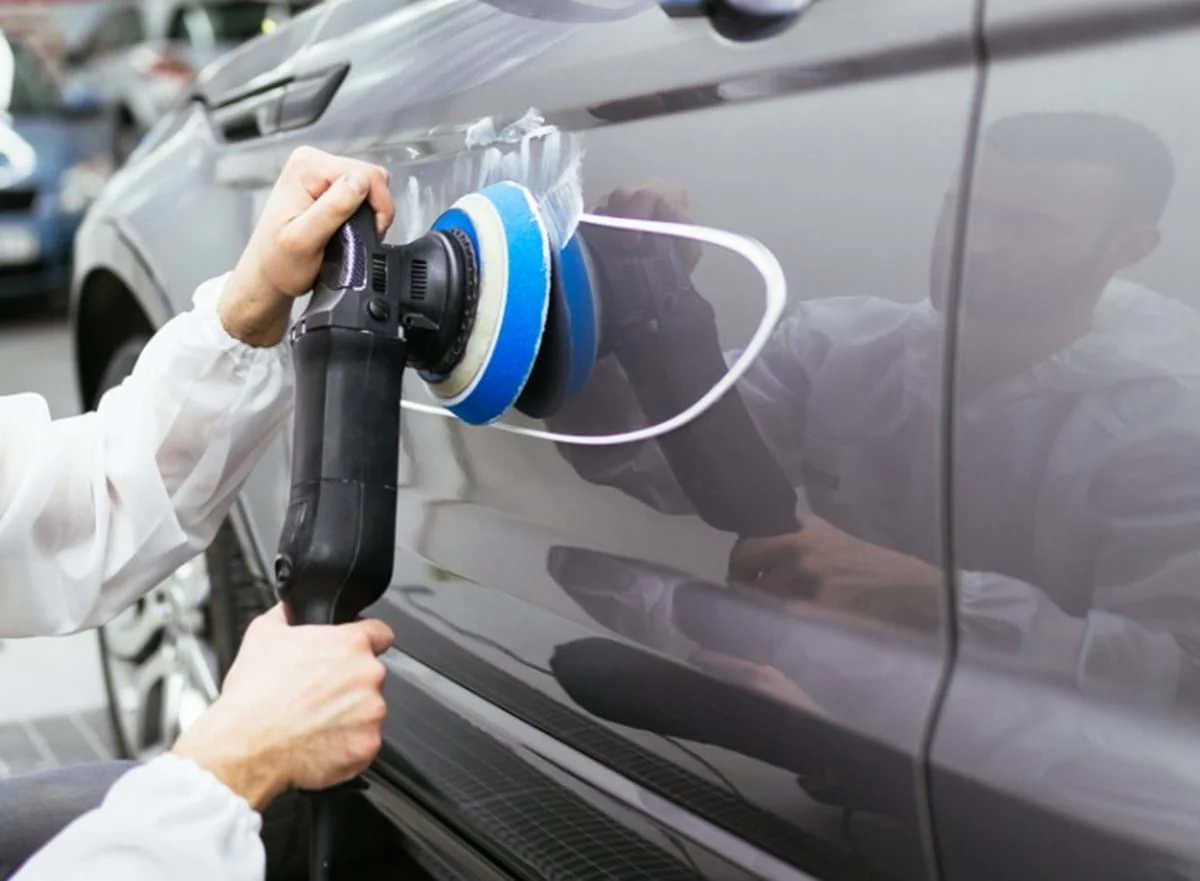
The Essential Tools of the Trade
Don’t attempt this by hand. To get a consistent, professional result, you’ll need the right power tools and products.
- Rotary or Orbital Polisher: An orbital polisher is generally the safest choice for beginners, as it minimizes the risk of burning through your clear coat.
- Buffing Pads: These come in different “cuts” for different stages:
- Cutting Pad (Wool or Foam): Used with a compound to remove sanding marks.
- Polishing Pad (Foam): Used with a finer polish to remove any haze left by the compound.
- Finishing Pad (Foam): For the final step, to add a layer of gloss.
- Polishing Compounds: You’ll need at least two types:
- Cutting Compound: A more abrasive compound used to remove the initial sanding marks.
- Finishing Polish: A finer compound that refines the surface and enhances gloss.
- Microfiber Cloths: Use high-quality, clean microfiber cloths for wiping down the surface between steps.
A Step-by-Step Guide to a Dazzling Finish
Step 1: Prep the Surface
Ensure your clear coat is fully cured. This can take anywhere from 24 hours to a week, depending on the product and conditions. The surface should be dry and hard.
Step 2: Compound to Cut
Apply a small amount of cutting compound to your cutting pad. Working in a small section (about 2×2 feet), use your polisher on a medium-low speed. Keep the pad flat and move slowly, working the compound until the sanding marks disappear. Wipe the area clean with a microfiber cloth to check your work.
Step 3: Polish for Perfection
Switch to your polishing pad and apply the finishing polish. Work in the same small sections, at a slightly higher speed. This step removes the haze from the compounding and begins to bring out the deep gloss.
Step 4: The Final Wipe Down
Once you have polished the entire surface, wipe it down one last time with a clean microfiber cloth. You will see a shine and depth that was simply not possible before.
Buffing and polishing is a rewarding final step that reveals the true potential of a well-executed paint job. With the right tools and a little practice, you can transform your project into a truly amazing finish.
For all your buffing pads, polishing compounds, and other automotive paint supplies, visit www.completepaintcare.com today. We have everything you need to go from DIY to dazzling.