Conquer Car Paint Damage: Your DIY Guide to Flawless Repairs
Got a pesky rock chip on your plastic front bumper? Or maybe you’re just curious about the different types of automotive paint before you tackle a DIY car repair?
You’re in the right place! At Complete Auto Care, we’re here to empower every DIY enthusiast across the US with the knowledge and essential tools to achieve professional results right in their own garage.
Before you dive into fixing that stone chip, it’s crucial to understand your car’s paint system. This knowledge will guide your repair process and help you choose the right products for a seamless finish.
Single Stage Paint: This is a simpler system where the color and the gloss are combined into one layer. Once applied, it dries to a glossy finish without needing a separate clear coat. You’ll often find this on older vehicles, commercial fleets, or some solid non-metallic colors. While easier to apply, it can be less durable and harder to repair invisibly if damaged, as you’re working directly with the color layer.
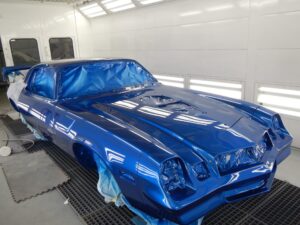
Base Coat/Clear Coat (Two-Stage) Paint: This is the most common system on modern vehicles. It involves two distinct layers:
Base Coat: This is the color layer. It dries flat and provides the car’s specific hue and metallic/pearl effect.
Clear Coat: This is a transparent, protective layer applied over the base coat. It provides the gloss, depth, and crucial protection against UV rays, scratches, and environmental damage. Most minor damage, like a rock chip, often only penetrates the clear coat or the very top of the base coat.
Tri-Coat (Three-Stage) Paint: Some specialized colors, like Mazda’s famous “Soul Red” (46V or 41V), are tri-coat. These have a base coat, a translucent mid-coat (often with special pearls or metallics for extra depth), and then a clear coat. These are notoriously difficult to match and repair perfectly without specialized techniques and specific tri-coat touch-up paint kits.
Knowing your paint type is the first step to a successful DIY paint job!
Essential Tools for a DIY Paint Job
Don’t start your automotive DIY repair without the right gear! Having these essential tools on hand will make the process smoother and the results better.
Car Washing Supplies: A clean surface is paramount. You’ll need automotive soap, two buckets, and clean microfiber towels.
Wax and Grease Remover: Absolutely critical for removing invisible contaminants that can ruin your paint adhesion.
Fine-Grit Sandpaper: Various grits (e.g., 600, 800, 1500, 2000, 2500 grit wet/dry sandpaper) for smoothing edges and preparing surfaces.
Automotive Primer: Especially important for plastic bumpers or if you’ve sanded down to bare metal. Choose a primer compatible with your topcoat.
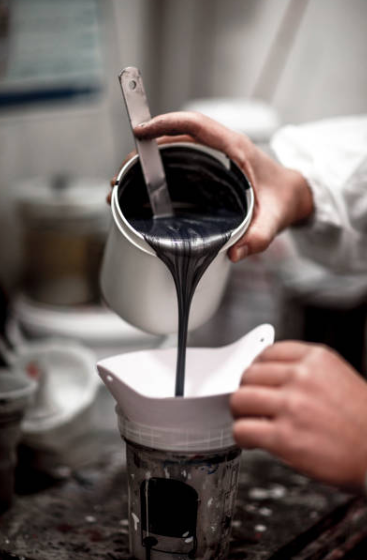
Custom-Matched Touch-Up Paint Kit: This is your core product. Ensure it’s an OEM paint match for your specific year, make, and model. These kits often come with a small brush or an aerosol can for larger areas.
Urethane Clear Coat: If your car has a base/clear coat system (which most do), you’ll need a separate clear coat to protect your new paint and provide gloss.
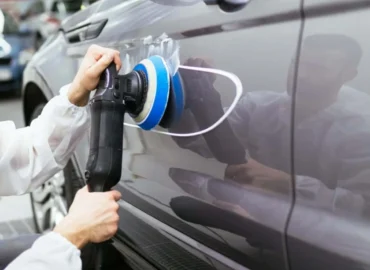
Polishing Compound & Microfiber Cloths: For the final buffing to blend the repair seamlessly.
Masking Tape and Paper: To protect surrounding areas from overspray.
Tack Cloth: For picking up tiny dust particles before painting.
Safety Gear: Always wear a respirator mask, safety glasses, and gloves when working with paint and chemicals.
Step-by-Step: How to Fix a Rock Chip on Your Bumper
Now that you understand paint types and have your essential tools, let’s tackle that stone chip on your plastic front bumper.
Clean the Area Thoroughly: Wash the entire bumper, then use a wax and grease remover on and around the chip. Let it dry completely.
Prepare the Chip: Gently use fine-grit sandpaper (e.g., 600-800 grit) to feather the edges of the chip. The goal is to smooth out any raised paint around the chip so it’s flush with the surrounding surface. Don’t sand too aggressively!
Apply Primer: If the chip went down to the bare plastic or metal, apply a very thin coat of automotive primer to the chipped area. Let it dry completely according to the product instructions. You may need a second thin coat.
Apply Base Coat (Color): Using your custom-matched touch-up paint kit (either a fine brush or a very controlled spray from an aerosol can), apply thin coats of the base color directly into the chip. Build up the layers slowly, allowing each coat to flash dry (become dull) before applying the next. The goal is to fill the chip until the paint is just slightly higher than the surrounding surface.
Apply Clear Coat: Once the base coat is completely dry, apply 2-3 thin coats of urethane clear coat over the repaired area. This will protect the paint and give it gloss. Again, allow proper flash time between coats.
Cure and Finish: Let the clear coat cure fully. This is critical and can take 24-48 hours or more, depending on temperature and humidity. Once cured, you can very lightly wet sand the repaired area with extremely fine-grit sandpaper (2000-2500 grit) to level it. Finish by applying a polishing compound with a microfiber cloth to restore the shine and blend the repair seamlessly.
With the right preparation, understanding of paint types, and the proper essential tools, you can confidently tackle many DIY car repair projects and keep your vehicle looking its best!
For all your automotive paint and DIY repair needs, including custom-matched touch-up paint kits, aerosol cans, primers, urethane clear coats, and more, visit our website! We’re here to help you achieve a flawless finish every time.